Something three dimensional II
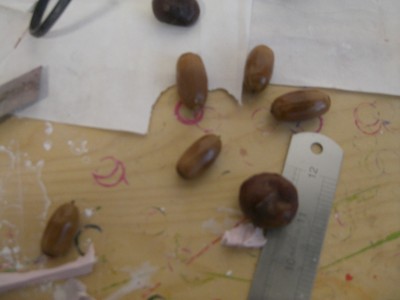
I have gone on to make molds from the acorns and conkers of my “images from around Woolwich” research, with the use of silicon rubber. I am not yet sure what I want to make with them, but I have used them as a little practice to familiarise myself with the mixing proportions and the entire process involved with making a mold using this silicon material of which I am still very much a novice – so in effect starting small – One reason I think I want to use the acorns and conkers is because of their similarity in shape to tomatoes which I have established previously that I am drawn to because of their colour and texture.
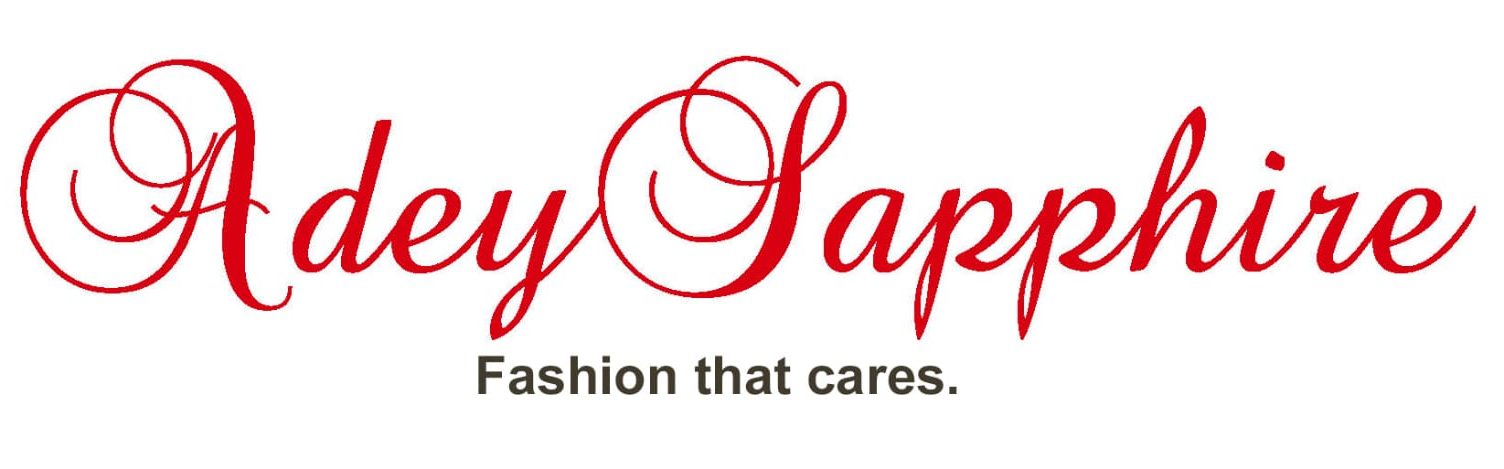
With the use of modelling boards I have made a molding box to use in making my molds of the acorns and conkers. The box is partitioned because I am making two mixtures of the silicon rubber using different proprtions of the mixture just to see which one cures quicker and this will inform how i proceed with the mold making process as in what ratio to mix both silicon and catalyst.
The box was welded together with silicon hot melt glue.
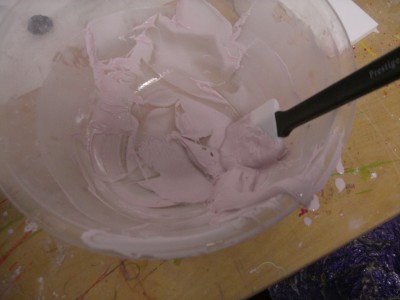
Preparing another mixture of the sillicon rubber using more of the catalyst and the thickener.
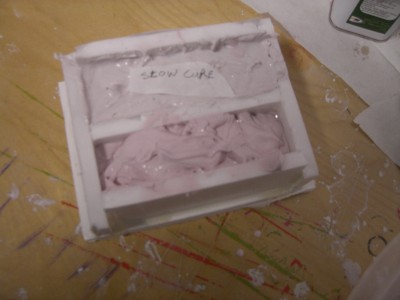
The new mix is scooped into the second compartment enveloping the acorns and conkers.

The box is aggitated to get rid of any air pockets and left to cure.
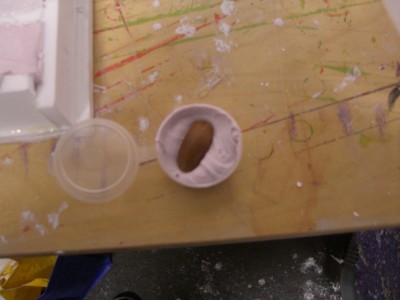
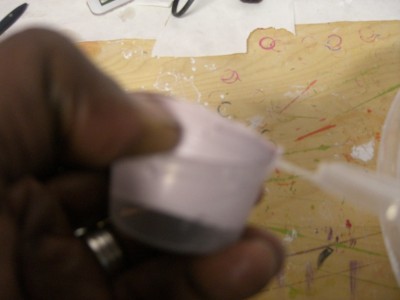
Take away tubs used for sauces has come in useful here to make a small mold of a lone acorn.
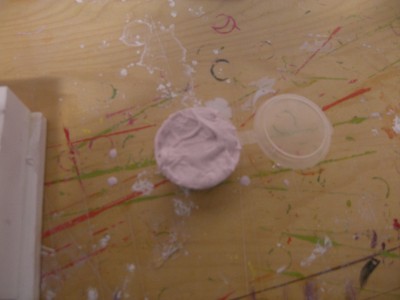
Demolding after leaving it overnight…
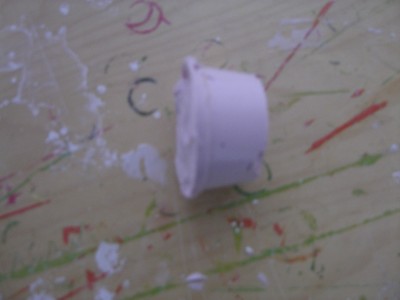
The second mold is all cured now..
The conkers and acorns are removed….

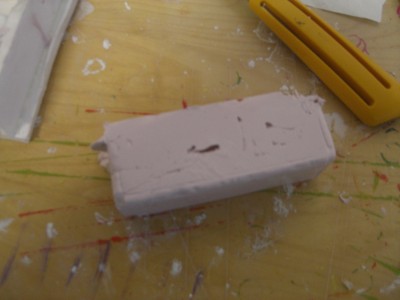
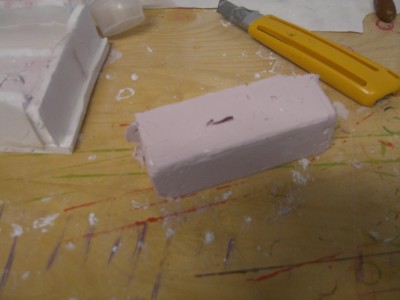
Again I have cut the mold in half which was the wrong thing to do because i would not be able to cast the shapes hole. But for the purposes of the experiment it would suffice. What I should have done is make a small opening on the thinner side and release the acorns from there so that the molded shape will remain whole.
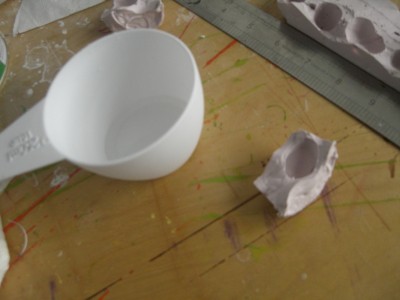
As I am going to be casting resin in these molds, it is important to gauge how much resin i would be needing in order to avoid wastage. The best way to do this is to fill up the molds with water, pour it out into a receptacle and then it would give me an idea of the right quantity to use and that’s what I’ve done in the images directly above and below.

Getting my resin mix prepared for casting with the use of measuring cups. On the left is the volume of water which equates to the amount of resin I would need to mix and pour into the molds.
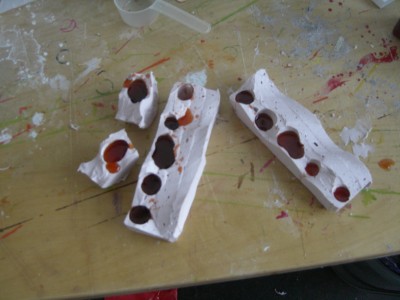
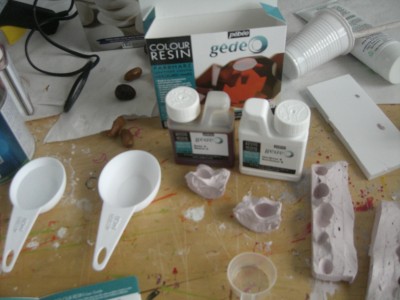
The red gem resin is mixed and poured into the molds…it will take 24hrs to set.
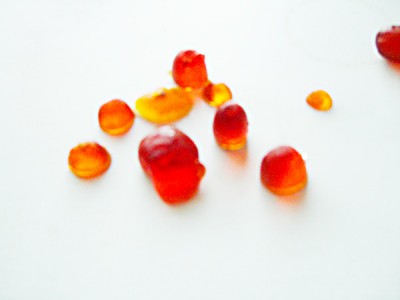
The gem resin has been left for a few days and they have finally set. I went into the studio to demold them on Monday, but they were still very rubbery, so I have left it till today and removed the samples from the molds. Below are the results….
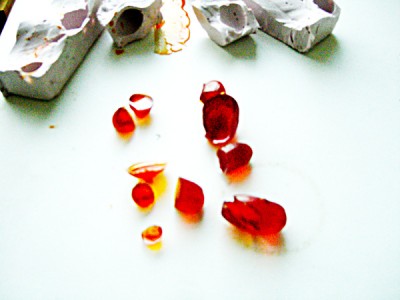
The laceration in the image directly above was as a result of joining the two halves of the mold when it wasn’t completely cured – it was slightly sticky – and so when it cured the shape of the acorn has been recreated save for the point where the mold had been cut in half.
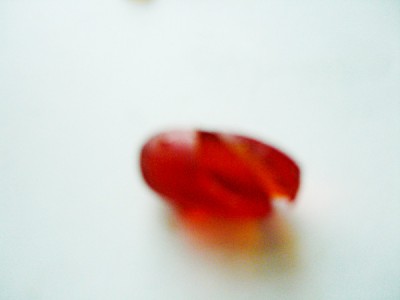
Held against the light, it does have a glow which I like. The next experiment will be to now use my own pigments rather than one that is ready-made and mixing this into a resin. By so doing, I can achieve the exact hue that I want. I have to say, they do look like gem stones.
I have cut the mold open which was ill-considered in hind-sight because then it means I can only cast the shape in two halves. But as I said before it’s an experiment and trying to learn and understand the process.