
Something three dimensional III
As a follow up to my previous post in ‘Something 3dimensional II’ I have finally succeeded in making the positives from the ‘waste moulds’ of my bust and head with a view of creating a silicone rubber mould from these ‘positives’. The material I have used is casting plaster. And I will be coating this with the silicone rubber mix to make another mould that can be used to replicate the shapes in multiples if I so choose.
Here are some images of the process of making the ‘positives’ from the ‘waste moulds’:
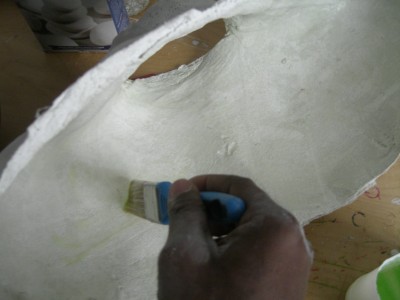
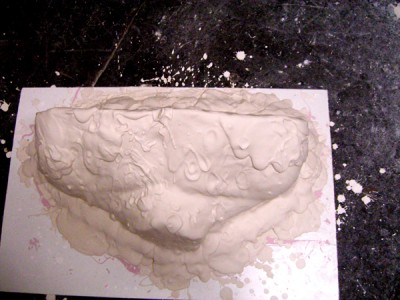
Fig.1. The mould was coated with a release agent of washing up liquid because I would be casting paster to plaster.
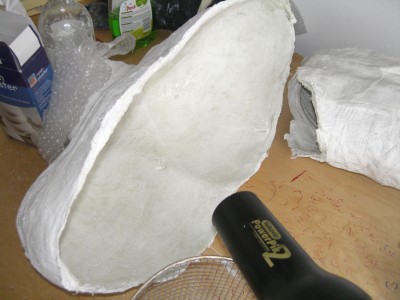
Fig.2. With the help of a hair dryer, I have accellerated the drying process.
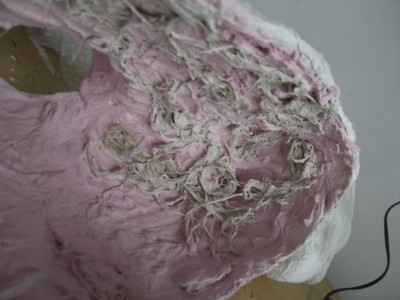
Fig.3. Applied the first and second coats of plaster and with the use of hessian ropes I have loosened the ropes as substitute for reinforcement scrim.
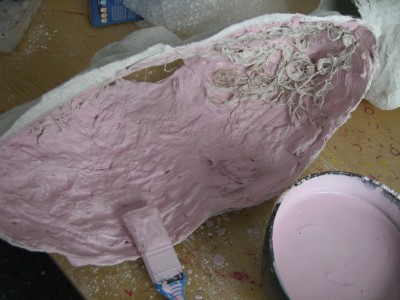
Fig.4. I have applied another few coats of plaster to cover the reinforcement ‘scrim’.
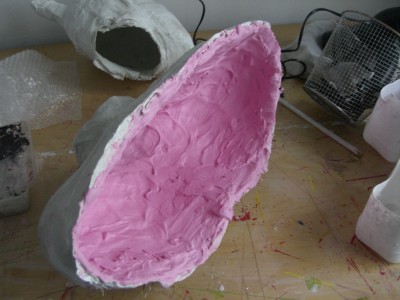
Fig.5. An image showing the several layers. The key is to make the plaster as thick as possible so that it can withstand the blows that will result from trying to remove the waste mould. I have also added some colour pigment in the form of poster colour. This will serve as a warning when I start to chisel away the waste mould so that I don’t damage the cast.
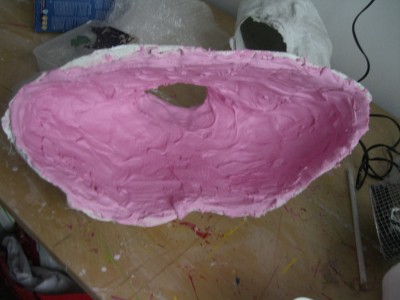
Fig.6. Waiting for it to cure.

Fig.7. The plaster has nearly cured and it’s very firm to the touch.
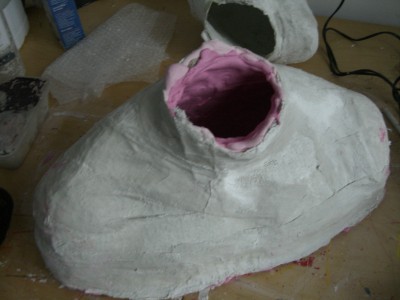
Fig.8. Waste mould is ready to be destroyed and the cast revealed.
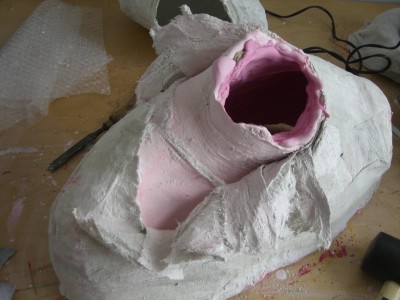
Fig.9. I start to chisel away the waste mould to reveal the cast.
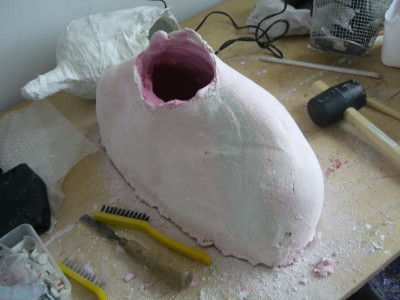
Fig.10. The cast revealed.
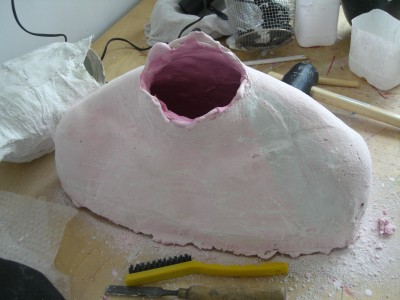
Fig.11. With the help of a wire brush I smoothen the imperfections away and make any amendments that needs doing.
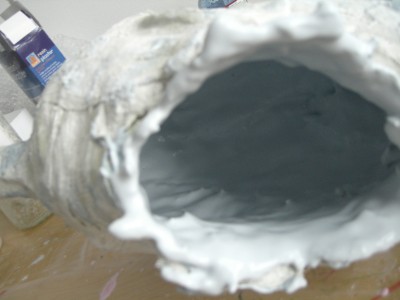
Fig.12. The same process as above was repeated with the head
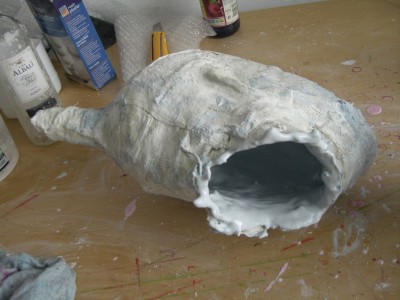
Fig.13. In this case I have used a blue colour pigment and this one is ready to be revealed.
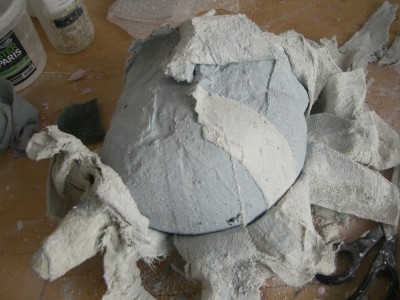
Fig14. The washing liquid release agent was very effective in making the plaster mould easily removeable with the help of a chisel.
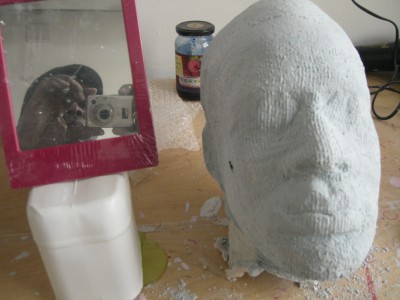
Fig.15. The revealed head cast.
Some further experiments:
Before carrying out the above casting tasks, I was toying with the idea of making aggregate casts using carrier bags (of which i have an abundance at home) and using resin to cast them in the waste mould. I changed my mind though because I wanted to follow through with the plaster casts, because I would inevitably have to destroy the mould and make a second one to do the plaster casts. This wasn’t going to be as cost effective as I wanted the excercise to be but it can still be done in a future project.
Below are the images from this experiment.
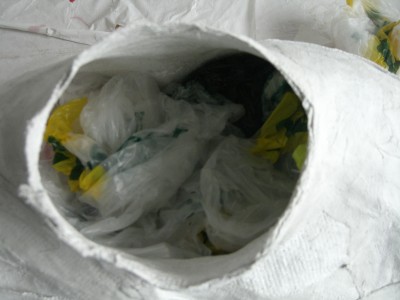
Fig.16. Shopping bags stuffed inside the mould.
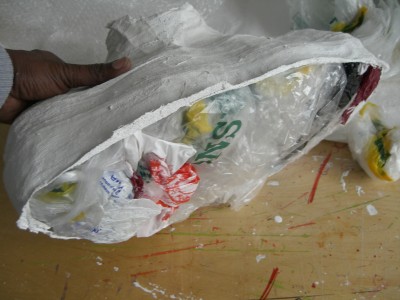
Fig.17. I would have had to bind them with resin.
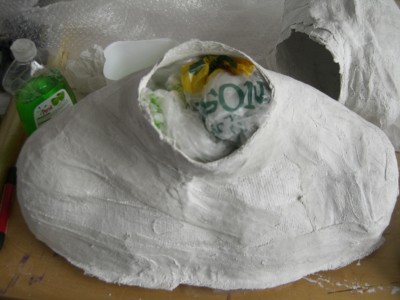
Fig.18. The bags would have assumed the shape of the mould and to reveal it the mould would have been destroyed.
Making my second mould from silicone rubber.
Today I have continued with the revealed casts by embedding the head in a bed of clay, built walls around it, made indents in the clay to serve as registration marks and then mixed my T28 Silicone rubber with the catalyst ( 12.5ml of catalyst to 250ml rubber).
I have applied the first skin and will be building it up after the first application has cured. Subsequent applications will also have Thixotropic additives to make it thicker and more resilient. Then the rubber mould will be ready for casting once its cured.
Below are some images to give and idea of whats been done:
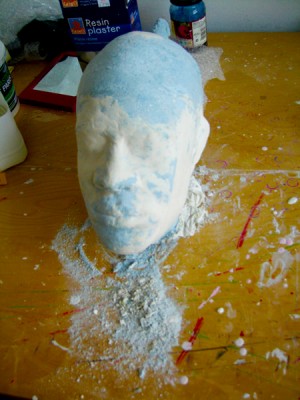
Fig.19. The ‘pattern’ was amended yesterday and I was able to sand it down today.
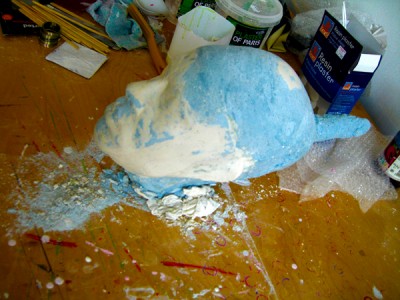
Fig.20. The side view showing white sections where it was ammended.
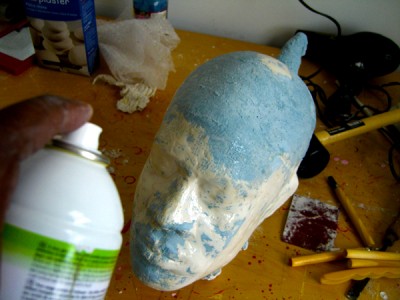
Fig.21. I sprayed on some gloss varnish in the hope that it would smoothen the surface a bit. Ideally, one should use wax polish for this sort of finish, but I want to see if it will work.

Fig.22. I start to prepare a bed of clay for the ‘pattern’ while the hollow in the neck was sealed with clingfilm to stop the silicone rubber from trickling in.
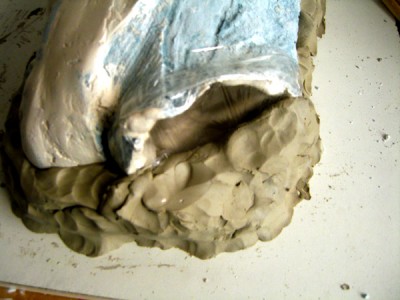
Fig.24. Built a wall of clay around the pattern to contain the rubber mix that will flow to the sides.
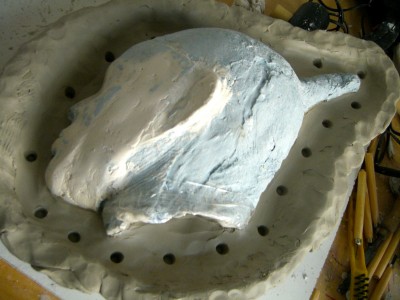
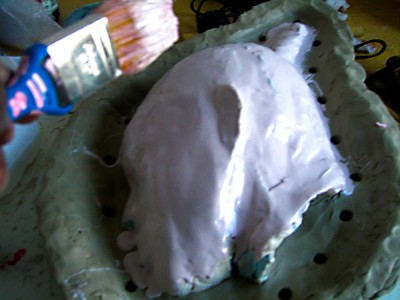
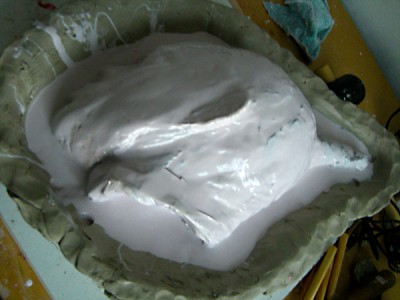
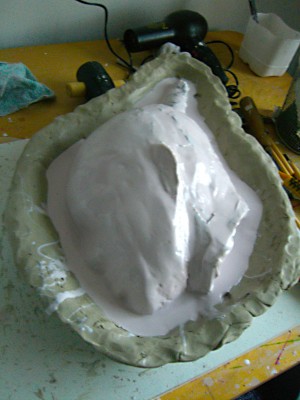
Fig.25. From top, registration marks are punched into the bed of clay, while top right, I start to brush on the first coat of rubber. Bottom left and right, shows the rubber mix sitting on the pattern. This layer has to cure first before I start building it up with another layer of Thixo thickened rubber.
Since preparing the above rubber mould, I have gone as far as doing both sides and created the rubber mould of the bust. At the moment, I’m making a hard case for it.
Also, I have started casting with the head. I finally decided to do an aggregate cast, using strips of shredded paper and binding with polyester resin. I intend to use shopping carrier bags in the bust as well and resin-bind it.
Here are the image updates:

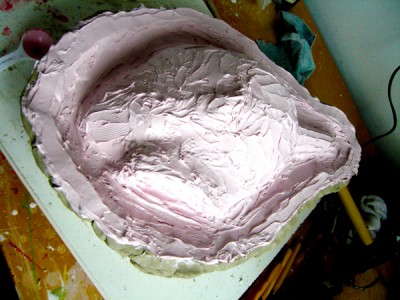
Fig.26. The cured half of the rubber mould. I now have to create a hard case for it first before inverting it to create the mould for the otherside.
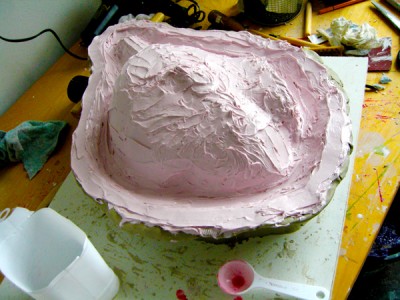
Fig.27. Front view.
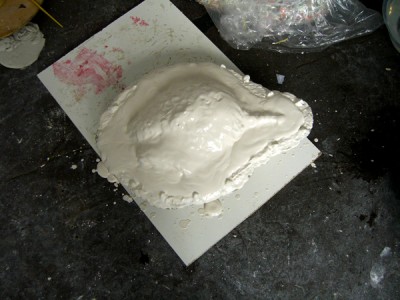
Fig. 28. The rubber mould is covered in plaster to create the hard case.
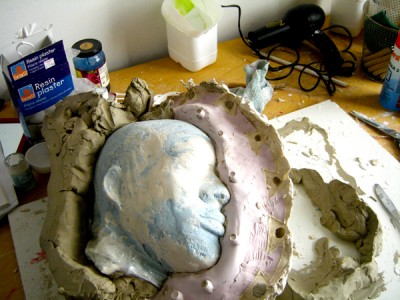
Fig.28. The mould is inverted with it’s hard case to enable me cover the other half in rubber and complete the creation of the head mould in silicon rubber.
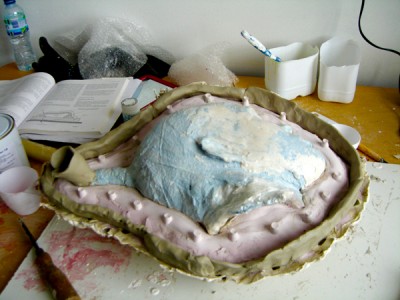
Fig.29. A wall is built around the existing rubber mould in readiness for applying silicone mix to laminate the exposed side of the head. Also, I didn’t create a pouring hole which I should have done before, so I’ve just created one.
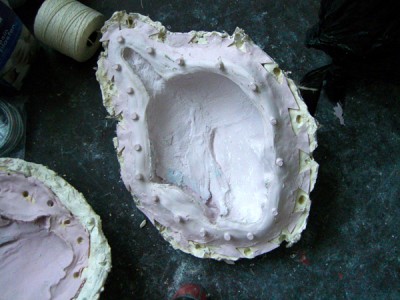
Fig. 30.The second half already done.
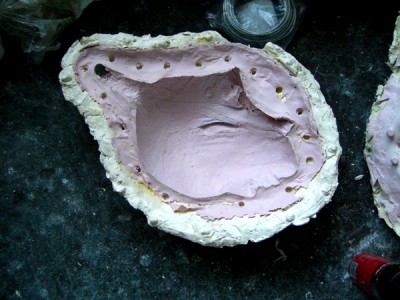
Fig.31. The pattern is removed and you can just make out the pouring hole at the tip of the hair do.
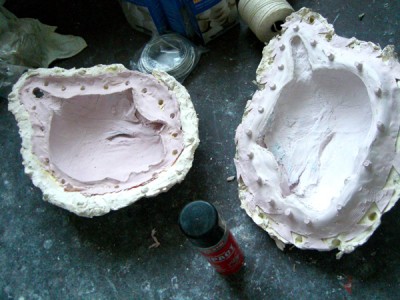
Fig.32. The problem that arose with the moulds is that the cutting of the key registration marks in the first mould to the right were not thick enough and the second half was amde too thin because I was trying to conserve rubber. So the result is that when i try to couple both moulds, they move. The freshly made one being thinner, falls out of the case I made for it. I was trying to remedy that with an adhesive which didn’t work.

Fig.33. I do some patching by mixing some more rubber and patching the flange which also helps to hold the mould to the case. Also, due to the thinness of the last mould, it got ripped when I was trying to seperate it from the pattern, so I have laid on some rubber mixture to patch it up.
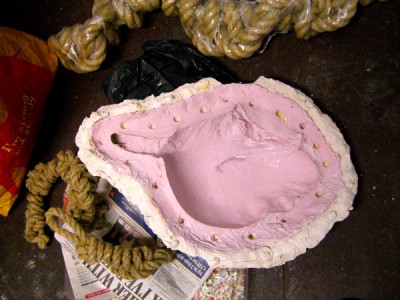
Fig.34. Waiting for the patch to cure. I have left it overnight. Hopefully, it would have done the job when I get in this morning to continue.
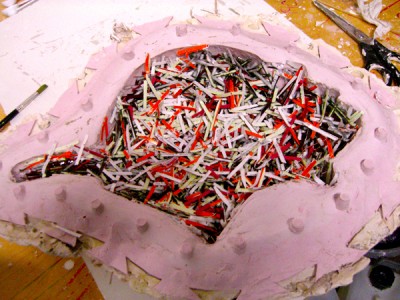
Fig.35. In the meantime, I have started casting with the much stronger rubber mould, using shredded paper as my aggregate material. I poured in resin first and then topped it with the paper shreds and poured more resin and left it overnight. I shall be checking on it this morning to see the progress.
Also, the bust, I have just prepared the rubber and now working on the hard case for it as can be seen in the stages below:
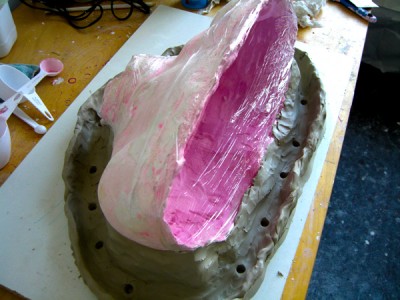
Fig.36. My bust lying on a bed of clay. I have used clingfilm to cover the hollow without realizing if it’s going to work yet.
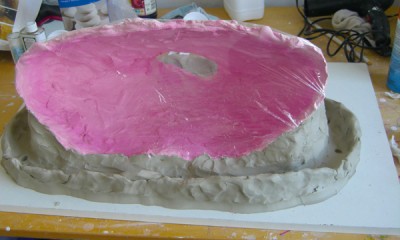
Fig.37.

Fig.38. The first coating of silicone rubber.

Fig.39. After applying a second coat and waiting for it to cure, it’s now shrouded in plaster to make a hard case for it.
greaqt post, very informative. I ponder why the opposite specialists oof thks sector don’t nderstand this.
You should continue your writing. I am sure, you’ve a huge readers’ base already!
Thank you for your kind comments.
If some one desires expert view regarding blogging then i advise
him/her to pay a visit this web site, Keep up the noce work.
Greetings! I’ve been reading your website for a while now
and finally got the bravery to go ahead and give you a
shout out from Dalas Tx! Just wanted to say
keep up the good work!
This is a topic that’s near to my heart… Thank you!
Exactly where are your contact details though?
Thank you for your comment. The contact details are at the foot of the page. And you can always subscribe if you want to receive updates on new projects and new products created by the now incorporated company. We have loads in the pipeline and are very happy to be launching our new ethical ready to wear collection. We’ll be keeping you posted.
Many thanks.
Regards,
Adey Thani
http://www.adeysapphire.com